
Table of Contents
- Transform Your Space with DIY Bathroom Renovations Tips
- Planning Your Bathroom Renovation
- Choose Materials Wisely
- Demolition and Preparation
- Key Bathroom Renovation Steps
- 1. Plumbing and Electrical Work
- 2. Install Fixtures
- 3. Tiling
- 4. Painting
- Accessorise Your Space
- Final Touches
- Wrapping Up Your DIY Bathroom Renovation
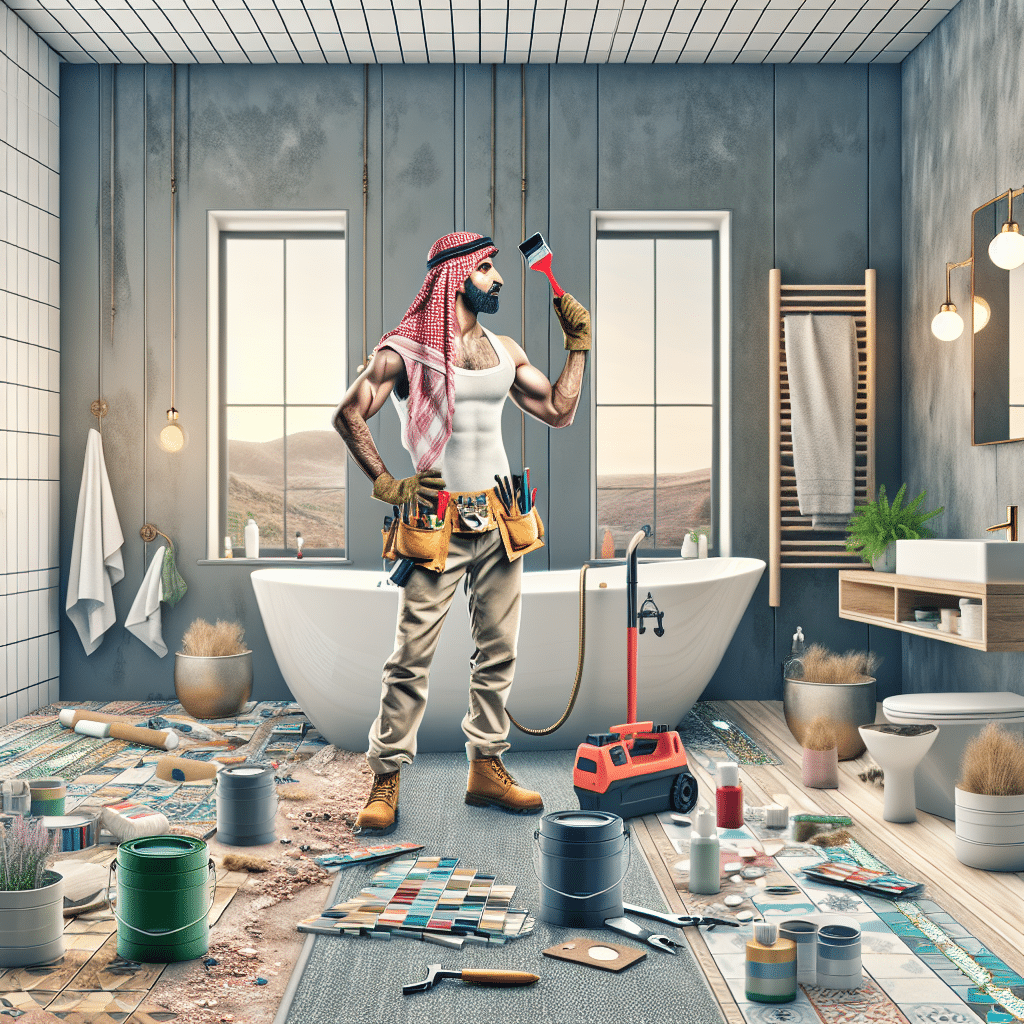
Transform Your Space with DIY Bathroom Renovations Tips
Are you dreaming of a fresh, stylish bathroom that turns your daily routine into a luxury experience? Transforming your bathroom doesn’t have to be a daunting task reserved for professionals. With a sprinkle of creativity, a dash of hard work, and the right tips, your DIY bathroom renovation can be a rewarding journey. This guide will provide you with expert advice and practical tips to help you create the bathroom oasis you’ve always wanted!
Planning Your Bathroom Renovation
Before diving headfirst into a renovation, careful planning is essential. Here’s what to consider:
- Define Your Budget: Determine how much you’re willing to spend. This will help guide your decisions on materials and fixtures.
- Assess Your Space: Measure your bathroom to understand what layout changes are practical. Take note of existing plumbing and electrical setups.
- Choose a Style: Decide on a design theme – whether it’s modern, classic, or something quirky. This will guide your choices in colours, tiles, and fixtures.
Choose Materials Wisely
In the world of DIY bathroom renovations, choosing the right materials is key. Here are a few popular choices:
- Tiles: Opt for non-slip tiles for flooring and waterproof tiles for the walls. Porcelain and ceramic tiles are durable options.
- Vanities: Choose vanities made from water-resistant materials. Think about space-saving options if you have a small bathroom.
- Paint: Use high-quality, moisture-resistant paint for walls to avoid peeling in the humid bathroom environment.
Demolition and Preparation
Now that your plan is set, it’s time for the exciting part – demolition! But remember, safety first:
- Wear Protective Gear: Ensure you have gloves, protective eyewear, and a dust mask.
- Clear the Area: Remove all items, including fixtures and accessories. It might be helpful to create a designated zone for where materials will go.
- Dispose Responsibly: Utilize services, like Brisbane South Skip Bins, to manage debris effectively. This makes cleanup a breeze and keeps your site safe.
Key Bathroom Renovation Steps
Each renovation project is unique, but these fundamental steps apply across the board:
1. Plumbing and Electrical Work
If you’re moving sinks or installing new lighting, it may be smart to hire a professional plumber or electrician. Not only can they ensure everything is up to Queensland regulations, but they can save you from future headaches as well!
2. Install Fixtures
Once plumbing and electrical work is done, install your new fixtures:
- Tubs and Showers: Follow manufacturer instructions carefully.
- Sink and Vanity: Ensure everything is level; use shims if necessary.
- Lighting: Install lights that complement your style and offer adequate illumination.
3. Tiling
Tiling can be complicated, but it can also be rewarding. Take your time:
- Start from the Bottom: This helps keep tiles level as you go up.
- Use Spacers: To ensure even gaps between tiles.
- Grouting: Ensure it’s applied evenly and thoroughly cleaned off the tile surface before it dries.
4. Painting
Once everything is installed, it’s time to bring your style to life with a fresh coat of paint! Don’t forget to:
- Prep the surface adequately.
- Allow sufficient drying time between coats.
- Use a finish that suits high-moisture areas.
Accessorise Your Space
Now that the major work is done, it’s time to accessorise! Here are some ideas to elevate your renovated bathroom:
- Towels and Linens: Choose colours that complement your paint and tile. Soft, fluffy towels can instantly add luxury.
- Storage Solutions: Floating shelves, baskets, and hooks can help keep your space organised.
- Art and Décor: Add personal touches like artwork, plants, or stylish soap dispensers to make the space feel like home.
Final Touches
Before you declare your new bathroom officially finished, pay attention to those final details:
- Test all fixtures and plumbing to ensure everything works properly.
- Check for any minor touch-ups needed in painting or caulking.
- Consider adding a decorative shower curtain or bath mat for a pop of style.
Wrapping Up Your DIY Bathroom Renovation
A DIY bathroom renovation not only adds value to your home but also creates a space tailor-made for your needs. Remember, it’s okay to ask for help when needed, especially with plumbing and electrical work. By following these tips and applying the right effort, you can enjoy a beautifully transformed bathroom for years to come! Don’t forget to make the cleanup process simpler by using reliable skip hire services like Brisbane South Skip Bins, ensuring your renovation goes smoothly without clutter.
Ready to transform your bathroom? Happy renovating!
About Brisbane South Skip Bins
Brisbane South Skip Bins offers comprehensive Skip Bin Hire Services for local household, Industrial, and commercial clean up. Affordable Skip Bin Hire – Brisbane South, Logan, Beaudesert and Ipswich
We can help you get rid of all types of unwanted rubbish, making the removal process easy, and saving you from having to load up trailers and make multiple trips to the rubbish tip.
Whether you’re renovating, landscaping, or doing a garden cleanout, we can take care of all your waste materials and unwanted items.
Our skip bins come in a range of sizes to accommodate all your removal needs.
Talk to Mick 0466 776 314 for help choosing the right type skip bin for your needs and save you money.
https://www.brisbanesouthskipbins.com.au/
#skipbinhirebrisbane #skipbinhirelogan #skipbinhirebeaudesert #skipbinhireipswich


